Tutorial: jersy circle skirt pattern
by acid-washed-mannequin
Hi
Mannequins!
In this
post I wanted to show you how I make my circle skirt pattern. The thing about
circle skirts is that they are cute, versatile and easy to make. Especially
when you use a stretch material like jersy and use a elastic waist band. You
can easily create your own circle skirt with this pattern.
First you need to decide where you
want your circle skirt to be, high waisted or low waisted
I made this skirt pattern for a
friend of mine and she wanted a high waist skirt. I measured her waist 28’’ (about 71
cm) and measured the length from the waist down. You need to stand straight for
all measurements so ask someone to measure it for you! The length of her skirt
is 13.7’’ (about 35 cm)
When you have the measurements
needed for a full circle skirt.
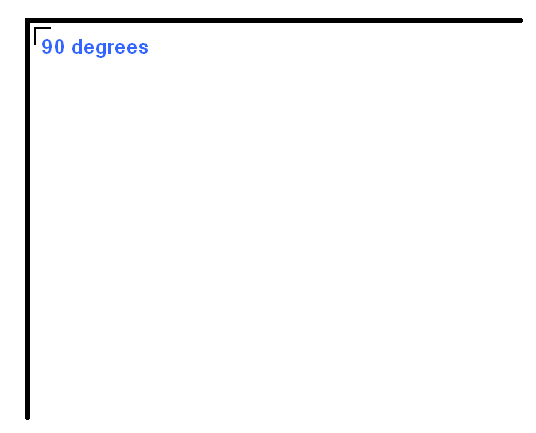
To start off your pattern make an angle of 90 degrees
Now you need to know how
much inch or cm you need to go in to make your waist line. Our waists are not a rectangular, so you need to
create a curved line for your oval shaped waist. You can find those measurements
on circleskirtpattern.com simply fill in your measured waist, and the length (+
seam allowance, add a quarter inch seam allowance to the length of the skirt)
when you hit the calculate button a little picture will appear and show you how
the measurements are. It also shows how much fabric you may need.
The yellow measurement
will be the one needed in the next step.

You can also check this chart http://dc626.4shared.com/download/nvcJvmofba/DSC02978.JPG?null
Look up the measured waist measurement (for
me 28’’) and go al the way to the right to the full circle skirt column. It
says 4 ½ inches. Almost the same as the
circleskirtpattern.com website. Both are absolutely fine.
When you have those measurements you can
draw in your curved waist line. I drew 5 blue arrows in this picture, every blue arrow
is 4 ½ inches long. Draw in your waist line.

Yay we are almost done! I know it seems
like a long process but it really isn’t! Ok let’s move to the next step.
The length of the skirt:
So for this step you only need to set out the length of the skirt from
the drawn in waist line as shown here in the picture every blue arrow. The length my skirt is 13.7 inches so for me every blue arrow is 13.7 inches long.

The last step is here!
The waistband:
So the waistband is the easiest part of this all, you
need to cut a rectangular. Length of your waist for me
28’’ + a quarter of an inch for seam allowance (29 cm with seam allowance) and the width of your elastic my
elastic is 1,1 inches + on
both sides a quarter of seam allowance (8 cm with seam allowance) 
Cut out the pattern
pieces, annnnd your done! Hope you all could follow this step by step tutorial.
If you have any question or concerns please feel free to command down below. In
the next tutorial I’ll show you how I made a simple elastic band circle skirt
with this pattern.
