What have I been up to? What's next?


Hi Manniquins,

Sooo, what have I been doing in the time I didn't post anything. Well basically I was really busy. I started my internship at Esther Haamke (http://estherhaamke.com/) and I'm enjoying myself alot! I only have a few weeks left, which makes me a tiny bit sad. We are working on the new collection that will show on Amsterdam Fashionweek next january. I can tell you that it'll be a very awesome show!

So I told ya'll I would make a tutorial on the jersy circle skirt. I did made the pictures when I made one months ago. But I think I'll leave that for later. I want to focus more now on my way to AMFI. As you may know I am in my exam year now. After my internship I'll have to make 2 whole outfits. each 2 pieces or more before my real exam starts. The first outfit will consist out of 2 or more pieces inspired by a Dutch designer from a collection of 2 years ago or earlier. Unfortunalty we will not have a choice which designer we choose and the school will pick one for us. The second outfit will consist out of 2 pieces or more inspired by a international designer / design house. The collection you pick have to be from 2 years ago or earlier, this time we need to pick 2 designers / design houses and the school will pick which one you'll do. I am thinking about cheating a bit and picking Jeremy Scott and Moschino. Some of you may know Jeremy is the head designer of Moschino, which will make me have Jeremy either way. gehehe. With Jeremy I can go every direction. I am not sure tho if I really want Jeremy. I love his designs and the way he presents his clothing but I'm not sure if I can design such bright and fun clothing. My style is more clean and modern. It also depends on who I get for the first outfit if I get Bas Kosters I can easily pick Jeremy cuz their styles are so close to each other. But if I get Iris van Herpen.. shit will not fit. I want to create a mini collection and not all seperate outfits.

Any way I can talk about this for days.. so I'll leave it here. I want to thank u for reading and excuse the mistakes I made. I thought about this blog and wanted to write down a little something something. not planned or anything.

xoxo.

Tutorial: jersy circle skirt pattern

Hi Mannequins!

In this post I wanted to show you how I make my circle skirt pattern. The thing about circle skirts is that they are cute, versatile and easy to make. Especially when you use a stretch material like jersy and use a elastic waist band. You can easily create your own circle skirt with this pattern.
First you need to decide where you want your circle skirt to be, high waisted or low waisted

I made this skirt pattern for a friend of mine and she wanted a high waist skirt. I measured her waist 28’’ (about 71 cm) and measured the length from the waist down. You need to stand straight for all measurements so ask someone to measure it for you! The length of her skirt is 13.7’’ (about 35 cm)

When you have the measurements needed for a full circle skirt.

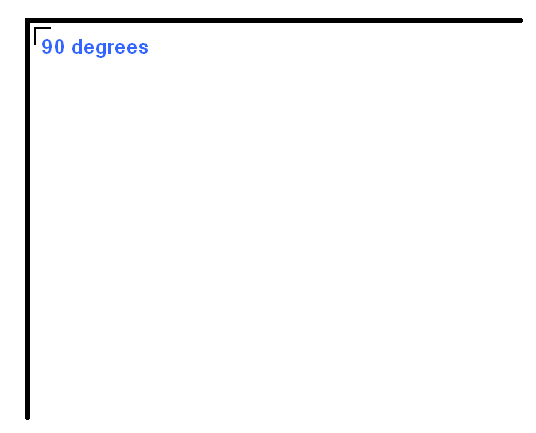
To start off your pattern make an angle of 90 degrees
Now you need to know how much inch or cm you need to go in to make your waist line. Our waists are not a rectangular, so you need to create a curved line for your oval shaped waist. You can find those measurements on circleskirtpattern.com simply fill in your measured waist, and the length (+ seam allowance, add a quarter inch seam allowance to the length of the skirt) when you hit the calculate button a little picture will appear and show you how the measurements are. It also shows how much fabric you may need. 

The yellow measurement will be the one needed in the next step. 


Look up the measured waist measurement (for me 28’’) and go al the way to the right to the full circle skirt column. It says  4 ½ inches. Almost the same as the circleskirtpattern.com website. Both are absolutely fine.


When you have those measurements you can draw in your curved waist line. I drew 5 blue arrows in this picture, every blue arrow is 4 ½ inches long. Draw in your waist line.


Yay we are almost done! I know it seems like a long process but it really isn’t! Ok let’s move to the next step.

The length of the skirt:
So for this step you only need to set out the length of the skirt from the drawn in waist line as shown here in the picture every blue arrow. The length my skirt is 13.7 inches so for me every blue arrow is 13.7 inches long.


The last step is here! 

The waistband:
So the waistband is the easiest part of this all, you need to cut a rectangular. Length of your waist for me 28’’ + a quarter of an inch for seam allowance (29 cm with seam allowance)  and the width of your elastic my elastic is 1,1  inches + on both sides a quarter of seam allowance (8 cm with seam allowance) 

Cut out the pattern pieces, annnnd your done! Hope you all could follow this step by step tutorial. If you have any question or concerns please feel free to command down below. In the next tutorial I’ll show you how I made a simple elastic band circle skirt with this pattern.

Mogelijk gemaakt door Blogger.

Popular Posts